Stand out with realtor promotional items that showcase professionalism and attention to detail, leaving clients with a lasting reminder of your brand and exceptional service.
Impress New Business Partners: Gift new clients with custom branded chocolate gifts that leave a lasting, positive impression.Elegant Custom Design: T..
Strengthen your client relationships with these beautifully packaged realtor gifts. Each luxurious chocolate box is customized with your company’s log..
Celebrate spiritual milestones with thoughtful Christian gifts perfect for women and men during school events, church ceremonies, weddings, or baptism..
Show appreciation for dedicated nurses with a beautifully curated gift set designed to bring joy. Perfect for hospital staff, these thoughtful present..
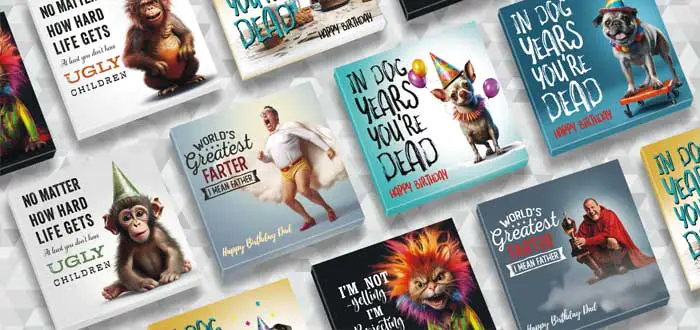
FUNNY GIFTS FOR MOM OR DAD -perfect funny gift for mother or father from children son or daughter great best gifts for elderly mom or dadBEST GIFT FOR..
Capture Their Attention: Entice new clients with premium chocolate presents that showcase your company’s attention to detail and quality.Elegant Desig..
Maximize your marketing efforts with these personalized realtor gifts and chocolate sets. Each box is custom-branded with your logo, making it ideal f..
Nurses and doctors work tirelessly to provide care, and a heartfelt thank-you gift is the perfect way to show appreciation. Choose from a selection of..
Stand out with realtor promotional items that showcase professionalism and attention to detail, leaving clients with a lasting reminder of your brand and exceptional service.
Make a lasting impression with custom branded chocolate appreciation gifts for clients, showcasing your company’s style, values, and genuine gratitude for their partnership.
Share faith and inspiration with presents for Christians, featuring a Bible verse on the gift to offer encouragement, joy, and a heartfelt reminder of God’s word.
Show gratitude with thoughtful gifts for nurses, celebrating their dedication and compassion while leaving a lasting reminder of your appreciation for their hard work.
Man birthday present | Gifts for Women, | Unique Funny Gag Birthday Gifts
Laughter is the Best Gift – Give the Funniest Birthday Present!
Great for milestone birthdays, it works perfectly as a 50th birthday gift for him, a 60th birthday gift for men, or even an amusing gag gift for old men. If you’re looking for funny dad gifts, grandpa gifts, or papa gifts, this is a fantastic way to add some humor to their day.